Table of Contents
Below you will find descriptions and instructions for the technologies that we will be using throughout the semester, including:CS Logins
Your CS login is the most important identifier that you will use over the course of the semester. Furthermore, this course requires the use of the department's remote servers that you can log into. All your work will be evaluated in this environment. To use these servers, you need a CS login.Most students do not have to do anything to get a login. Before the start of classes, the EECS IT staff gets a list of all students registered for a CS course. They automatically create an account (and thus a login) for any new students and send an email instructing you how to set your password (be sure to check your Tufts email and any relevant spam folders). You must set your password, which can be done here by clicking "Enable or reset your existing ECE/CS UNIX account".
If you are waitlisted or not registered as of a day or two before the start of classes, then you must contact EECS IT directly to request an account by emailing staff@eecs.tufts.edu. The EECS IT staff are the only ones who are authorized to create these accounts.
use comp11
Throughout the semester, you will need to run our scripts and programs in order to get starter code, use demonstration programs, submit your work, etc. These scripts can be accessed by logging onto the Halligan servers and typing the following command at the Terminal prompt:►
use comp11
However this command only makes these programs available during your current Linux session. To make these programs permanently available, the above command can be added to your
.cshrc profile. To do this, log into a Halligan computer and enter the following commands at the Terminal prompt:
►
cd ~►
echo "use -q comp11" >> .cshrc
This will add the command "use -q comp11" to the end of your profile. You can check that it was added by running the command:
►
cat .cshrc
and seeing the "use -q comp11" command printed out to the screen. The
use comp11 command will now execute automatically each time
you log into your Linux account.
submit11
submit11 is the script that you will use to
submit your labs and homework code. While there are a few
bells and whistles going on here, the crux of this script is
again the Linux cp command. The script
essentially copies files from your personal Halligan space
into our CS 11 grading folder.
When you run
submit11, it looks for
files with the appropriate names in the immediate folder where
it is being run. If it finds the files, it copies them to our
grading folder and the operation is deemed a success. That is
to say, submit11 is just looking for the required
filenames. It is up to you to make sure that the correct files
with the correct names is in the folder where you
run submit11.
To ensure that this is the case, the best practice is to compile and test your code immediately before submitting it. You should think of submitting not as a single, atomic operation, but as the last step of the sequence compile-test-submit. For example, if you are ready to submit the file
homework.cpp, and if we
have given you some sample test input and output, you could run:
►
g++ -o homework -Wall -Wextra homework.cpp (compile)►
./homework < test.in > test.out►
diff test.out test.gt (diff)(repeat the
diff process for every test you have created)►
submit11-hwXX (submit)We will not always provide definitive test input, however. You are responsible for your own testing. The key point is: don't submit a program until you have verified it is the one you want to submit on the department servers. It is a shame to submit a file after last-minute changes or failing to sync with the server and then get no credit!
Atom and Remote Sync Pro
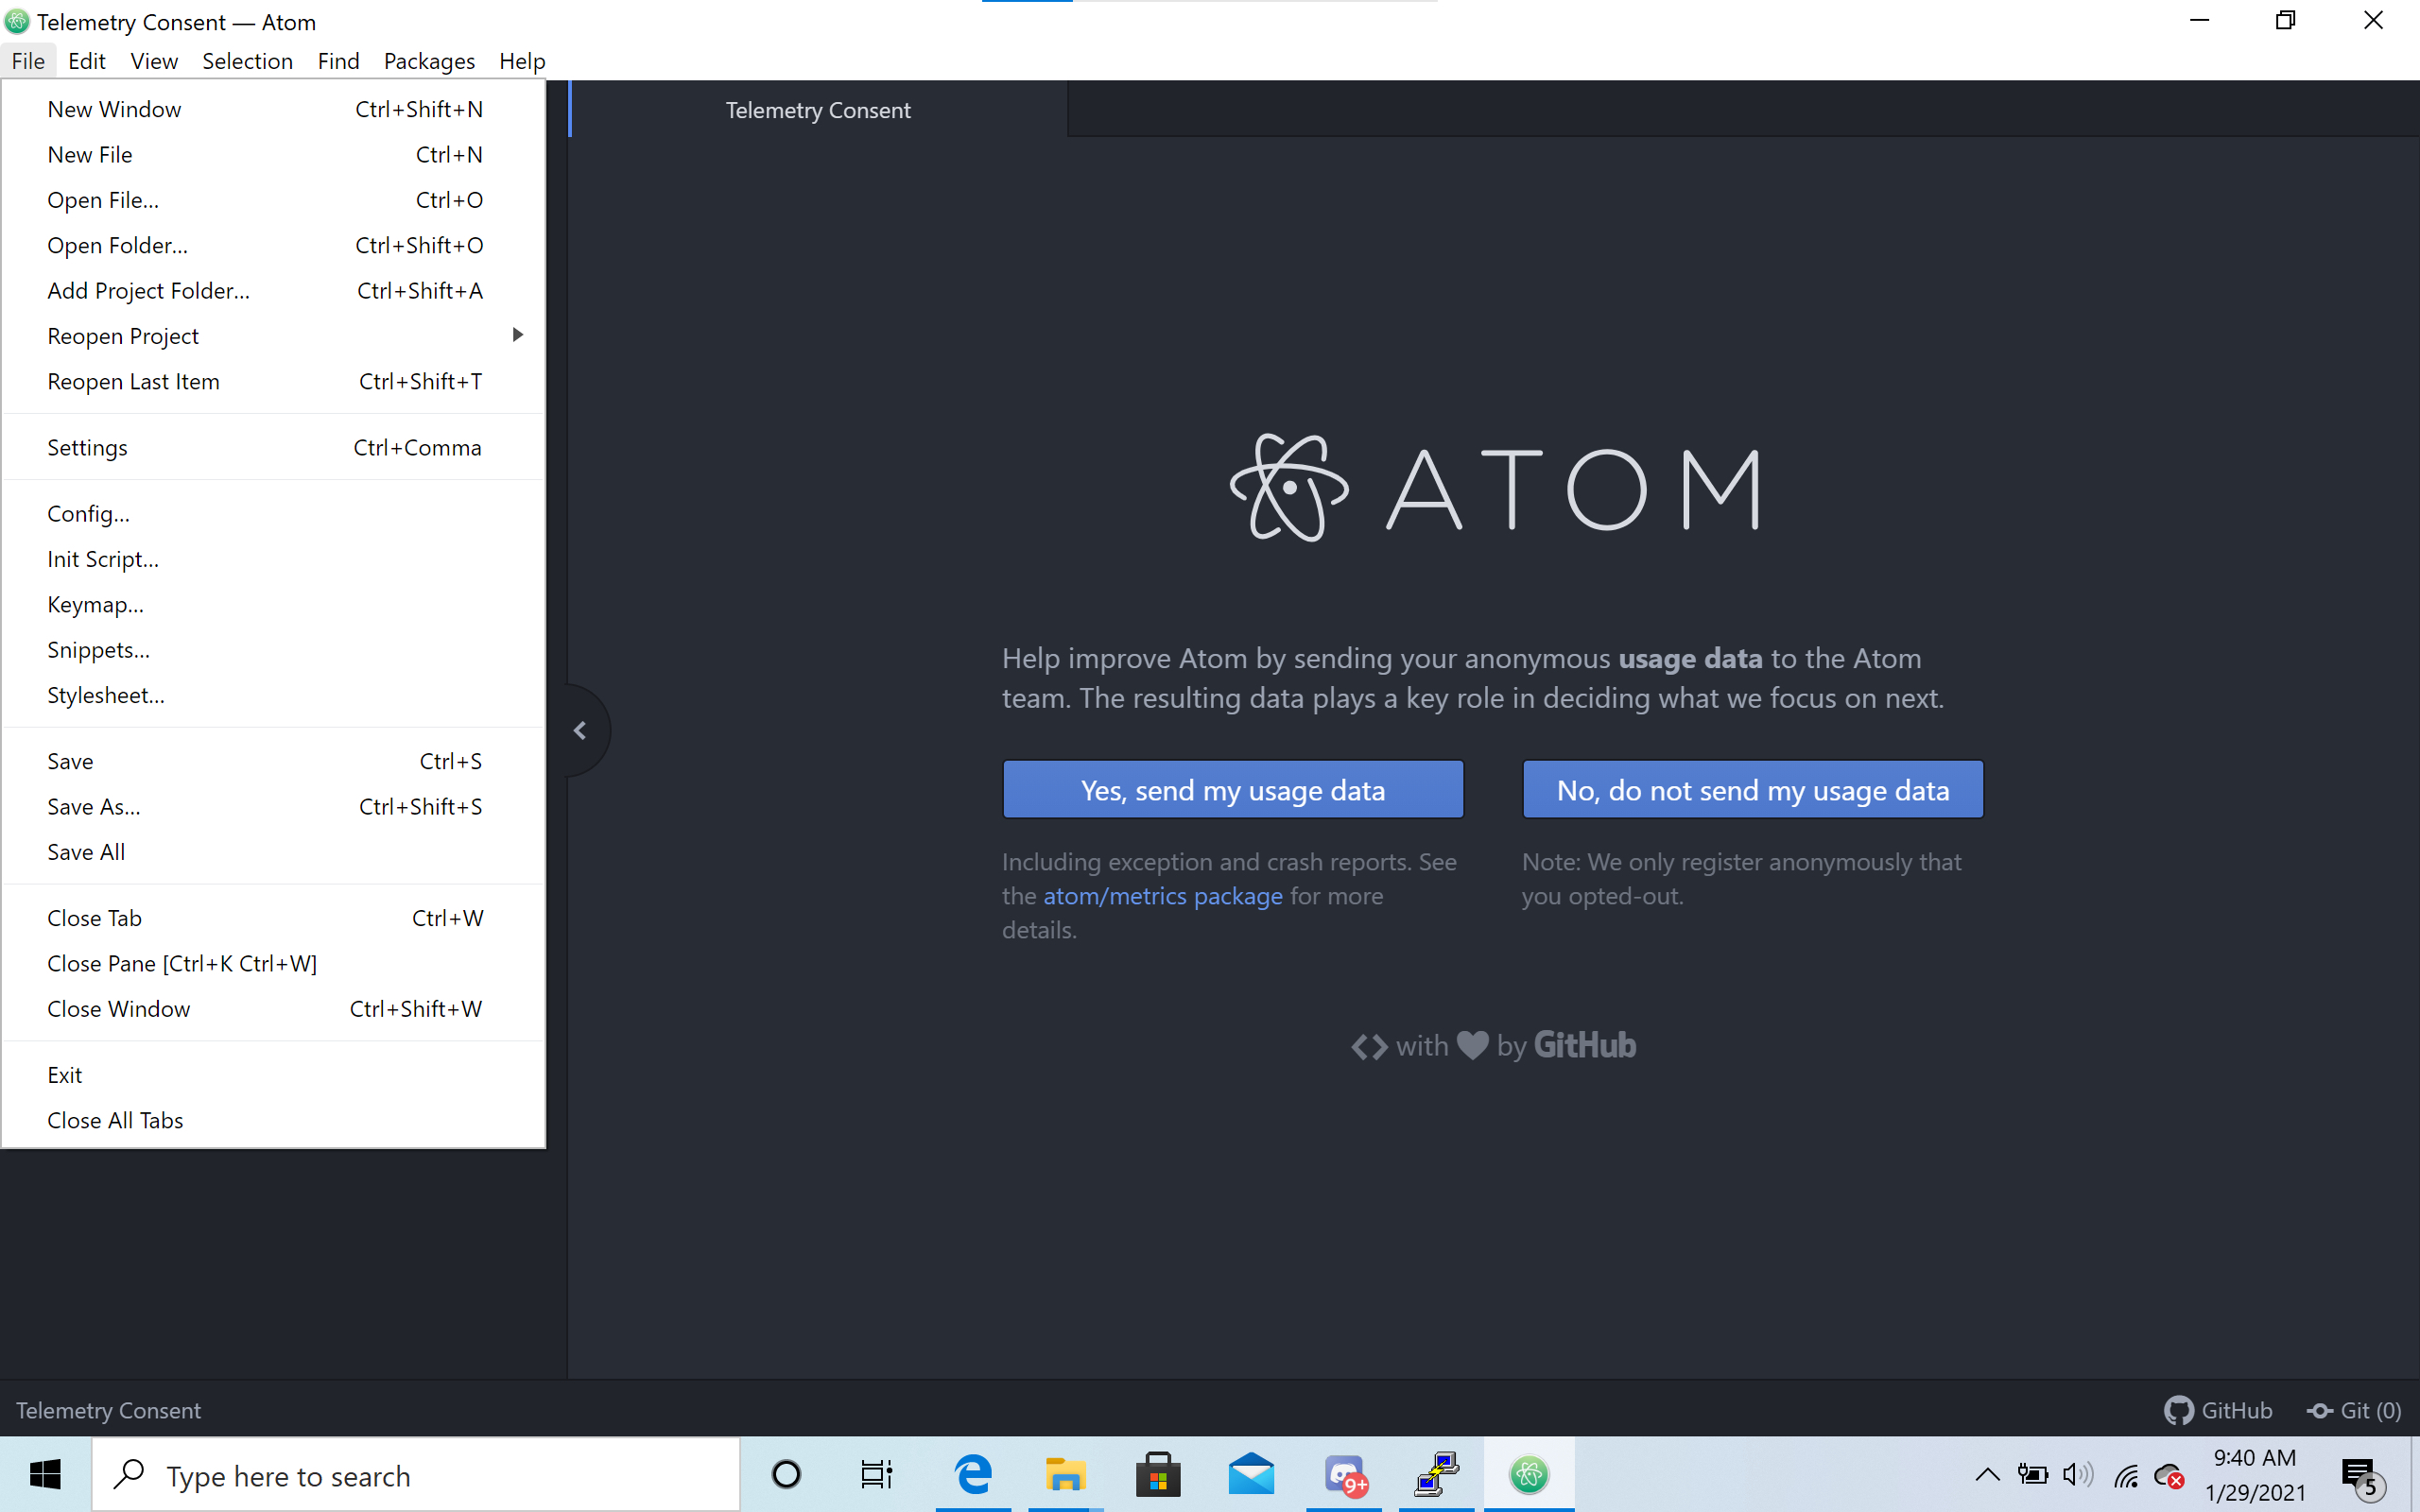
Atom is the text editor that you will be using on your personal computer to write all of your programs. Here we will walk you through the process of getting Atom up and running on your personal computer. Atom can be downloaded for use on any operating system here: https://atom.io/Heads up: sometimes the installer screen with the rocket loading animation might be stuck on "no progress" for a minute or so. Wait it out a bit before giving up on this again
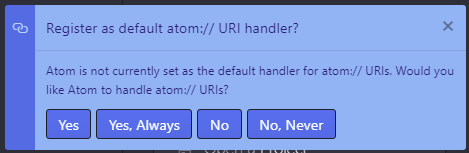
After Atom is installed, if you are using Windows/a PC you will probably see this pop-up. You can click Yes, Always.

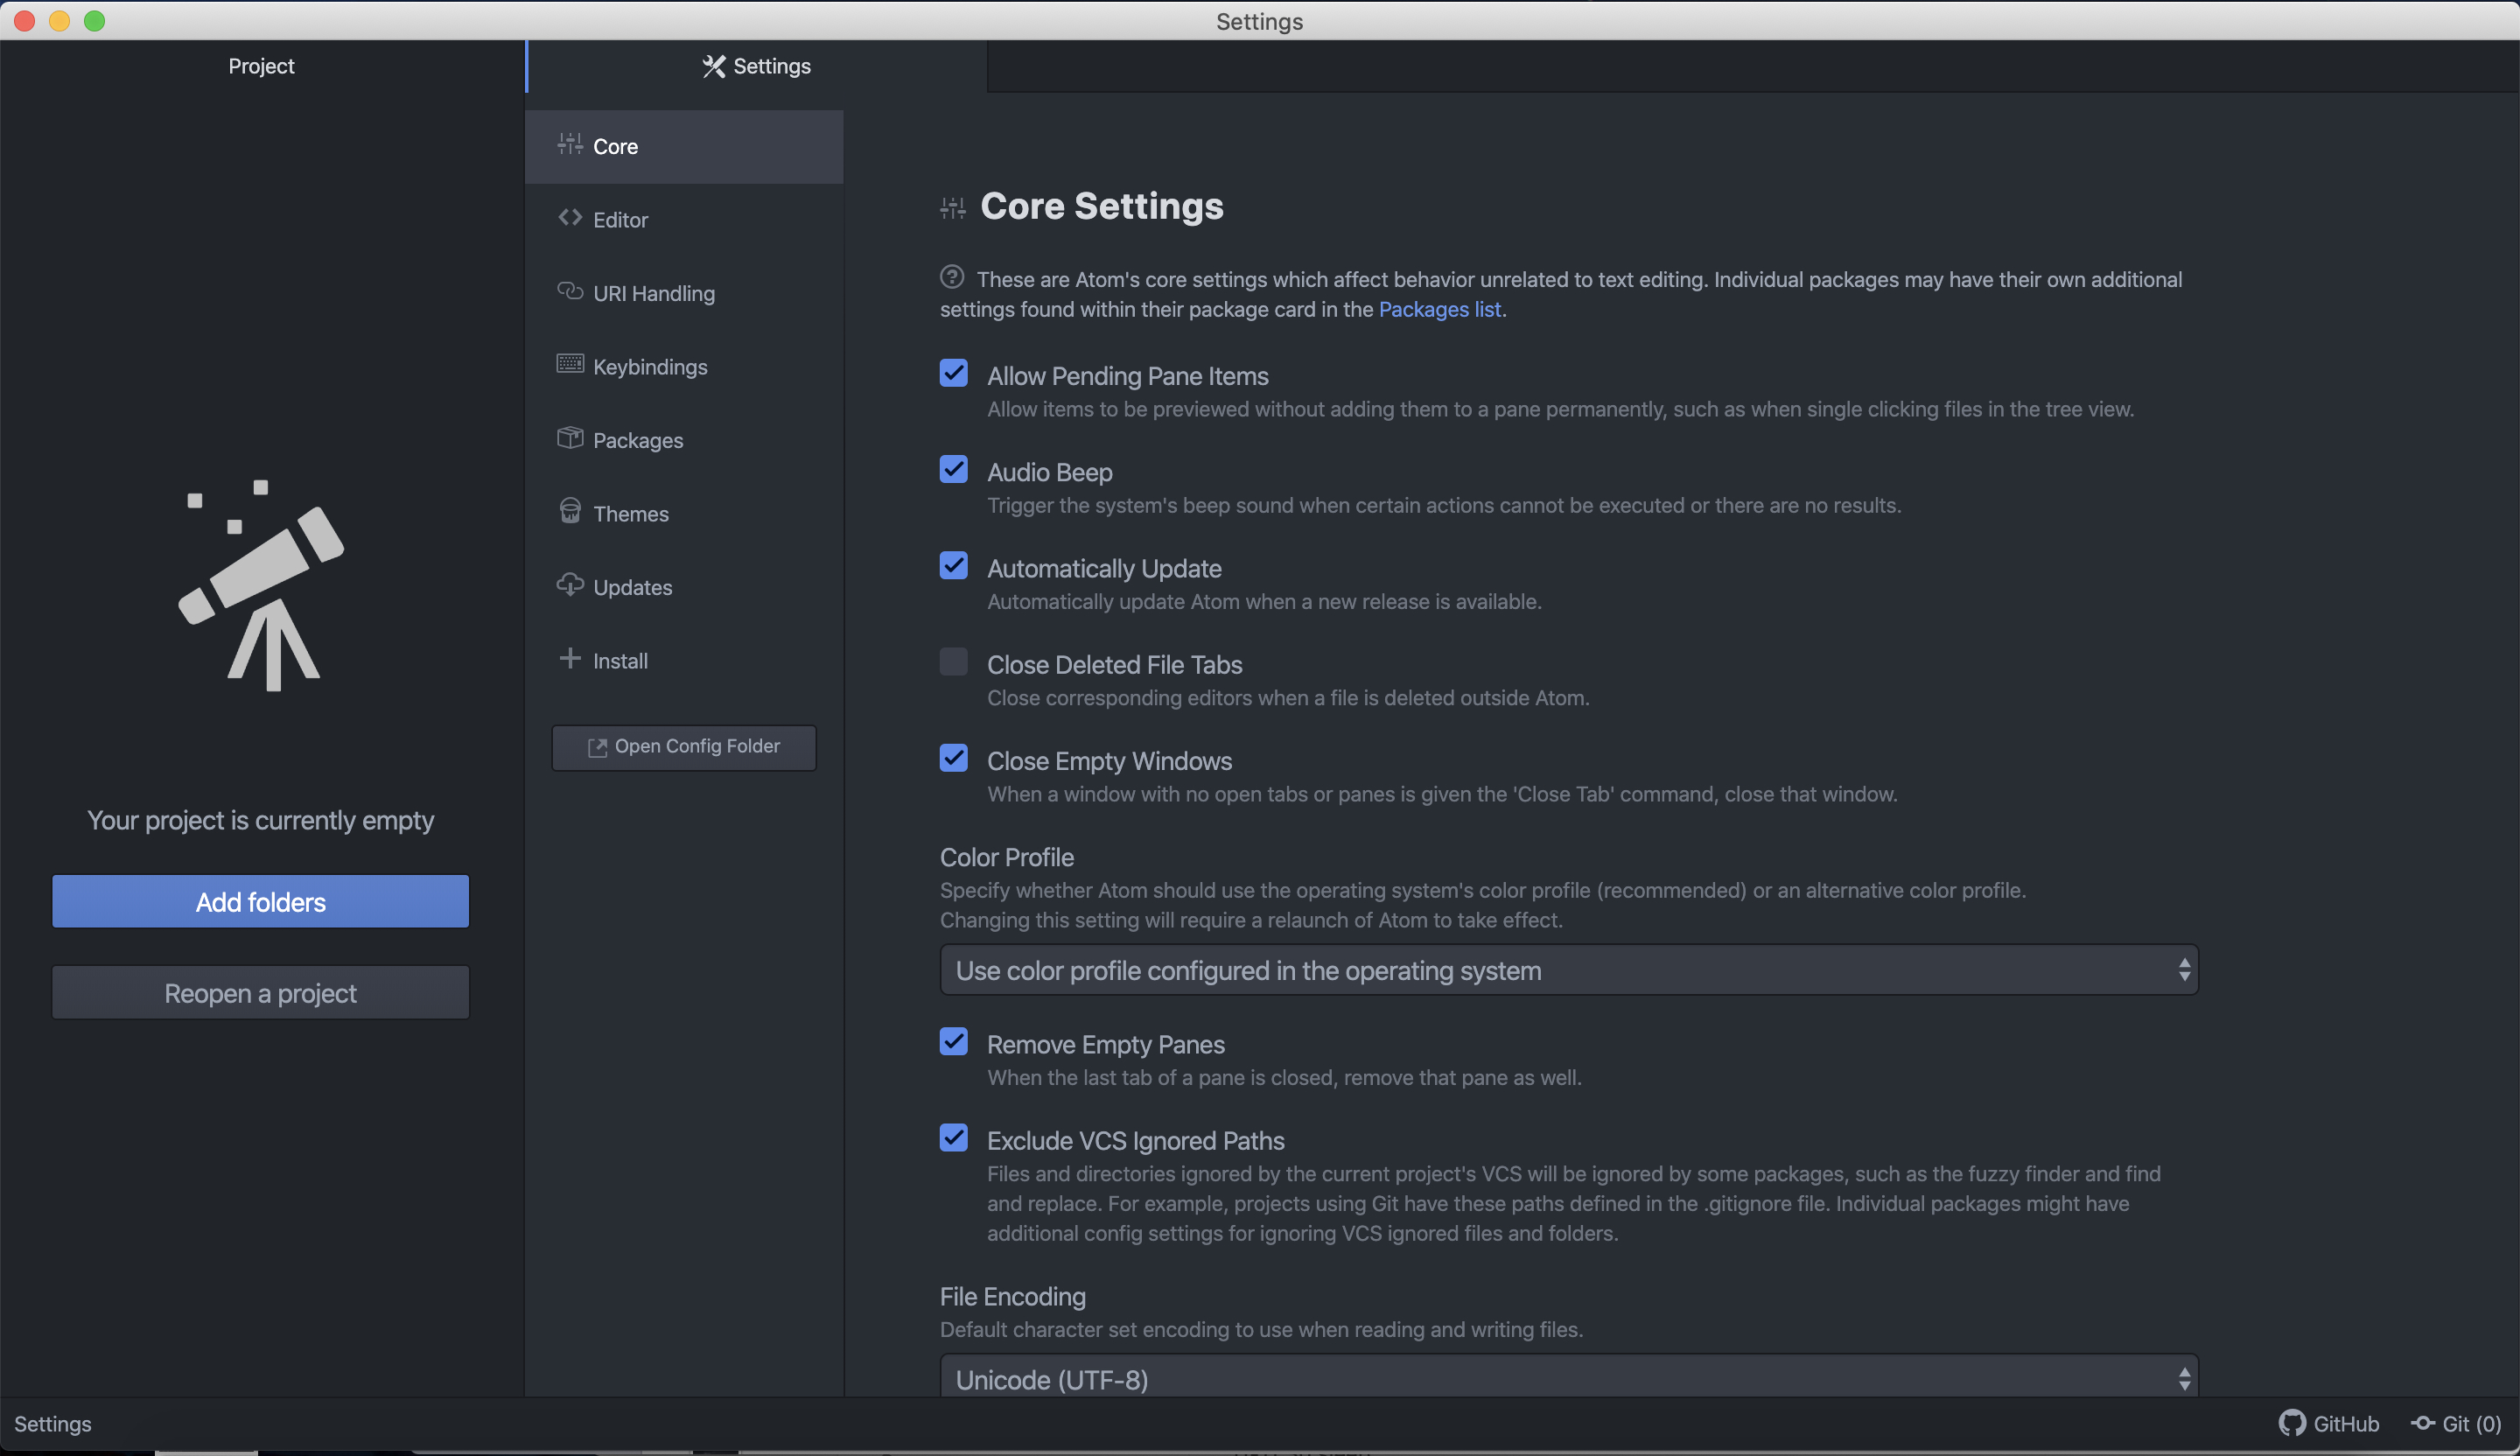
1. Turn on Soft Tabs: Click the Editor tab. You will see this:
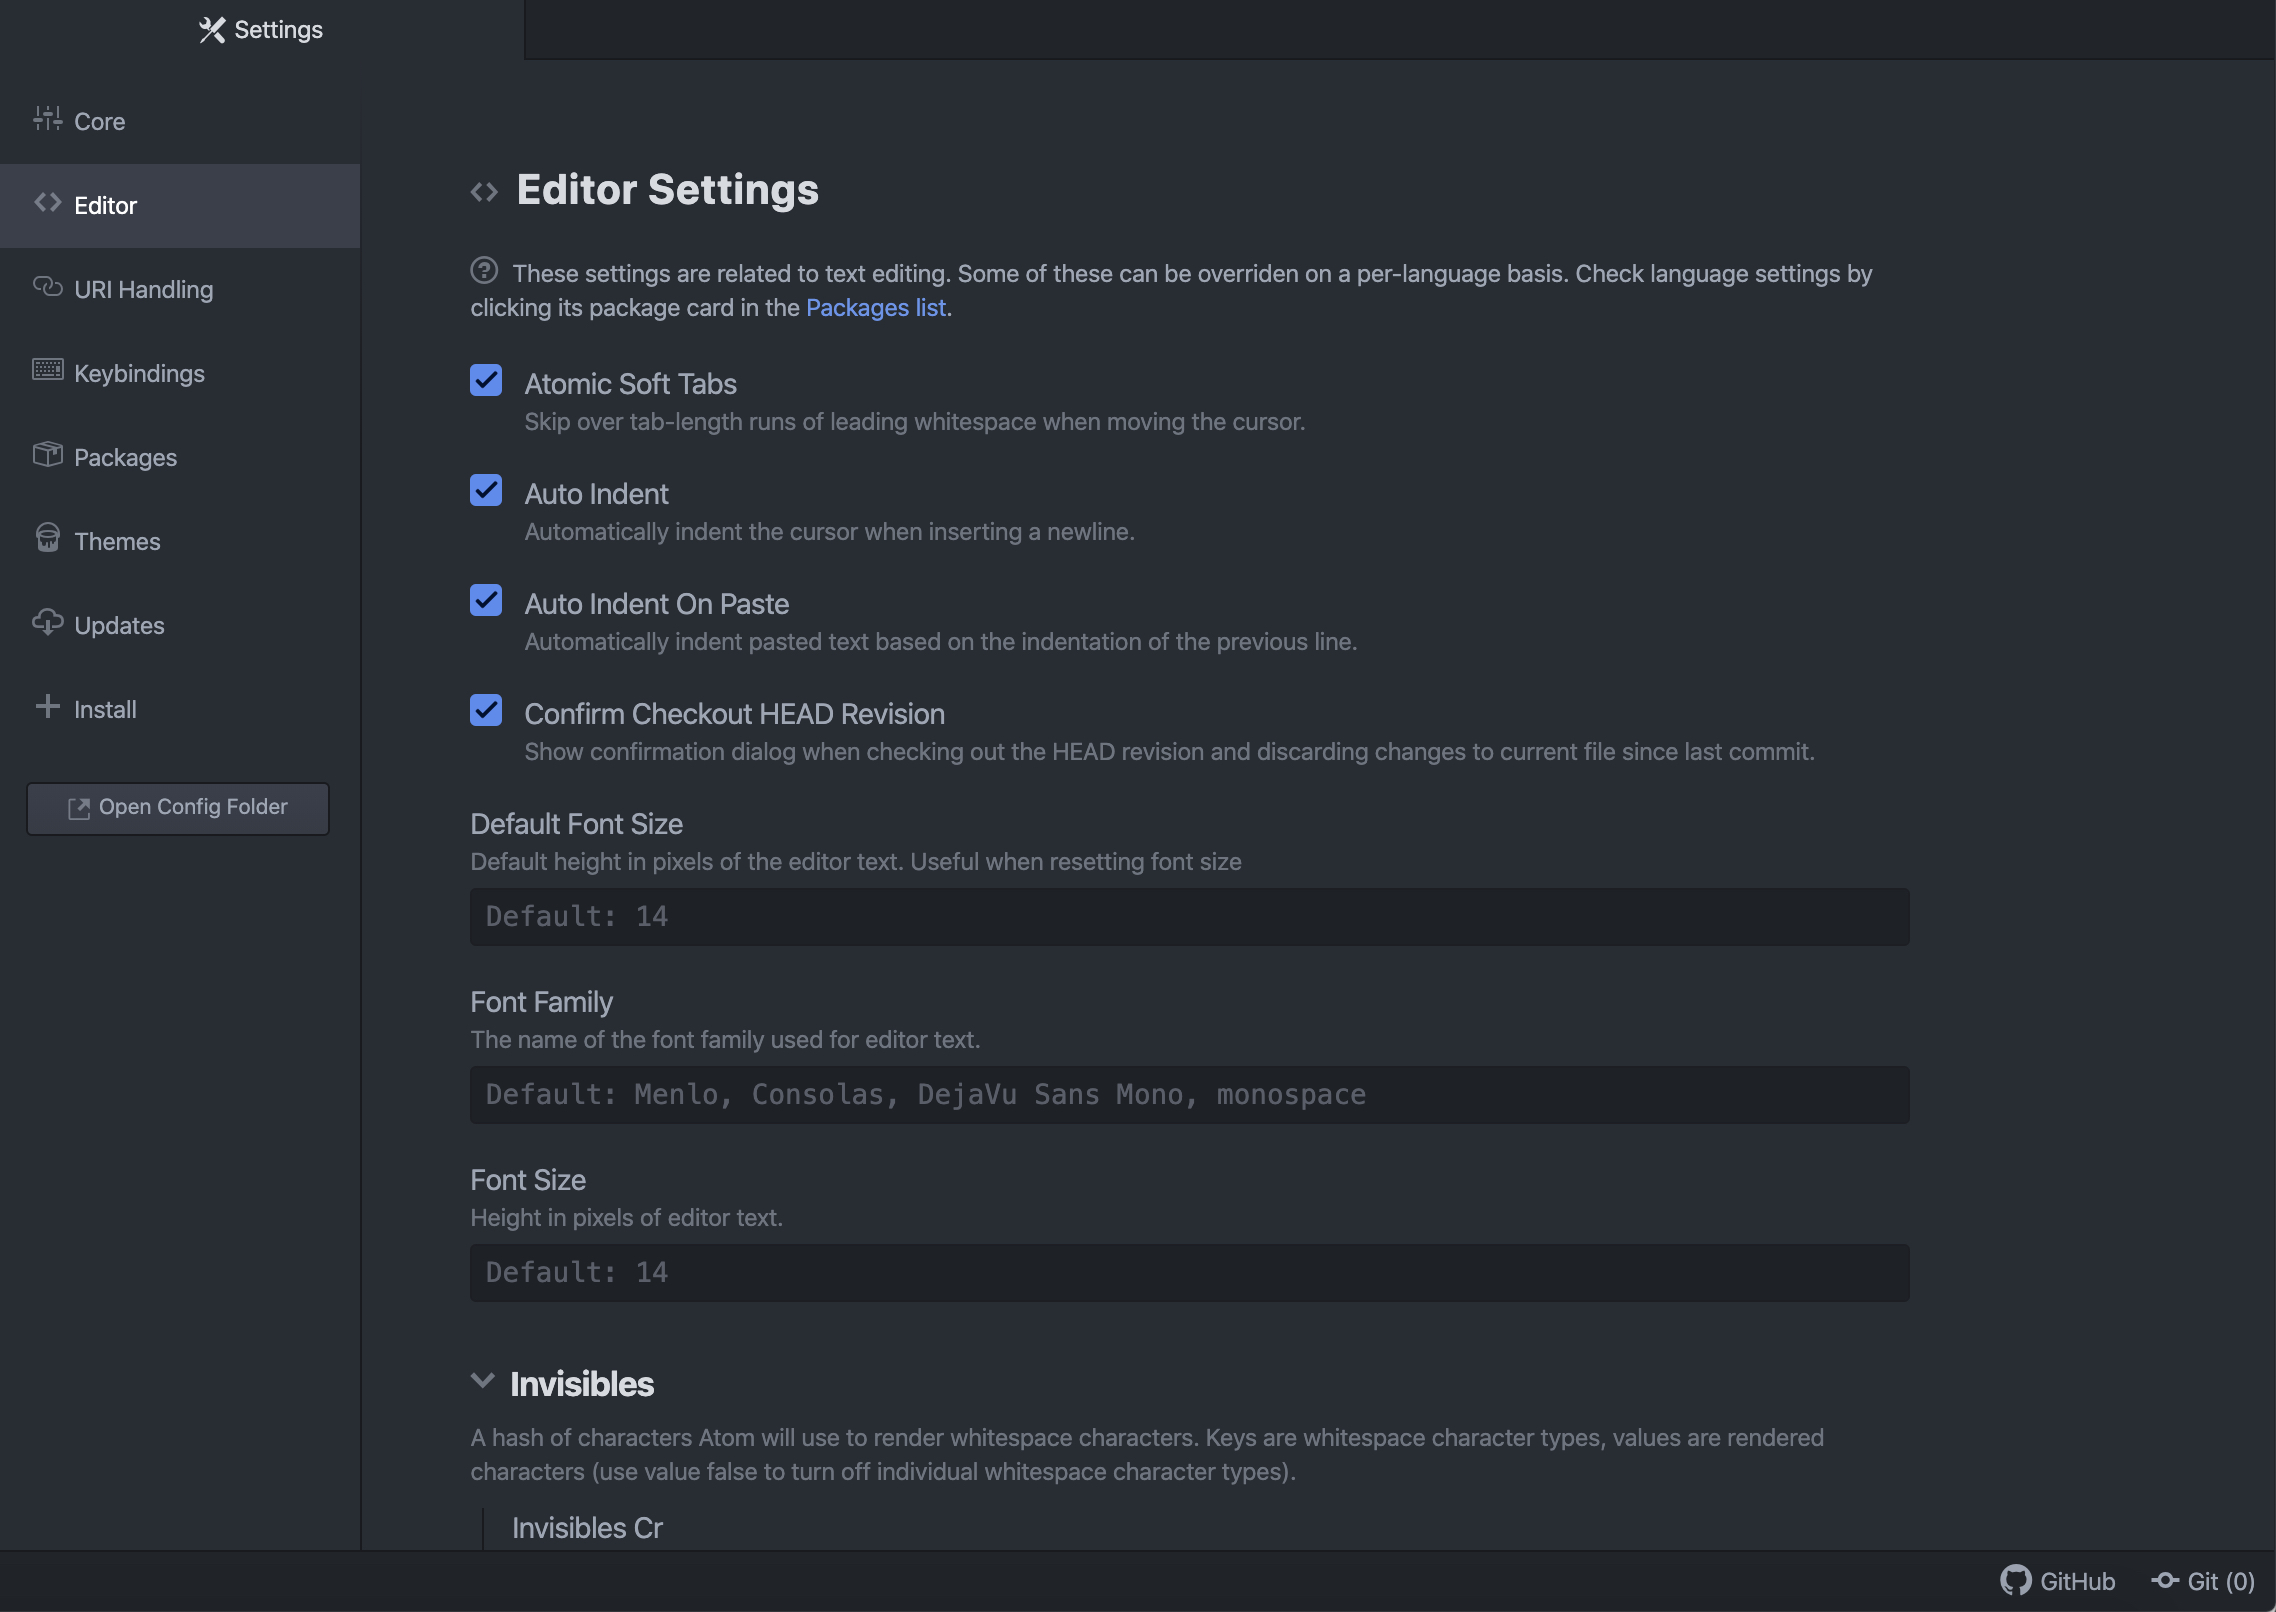
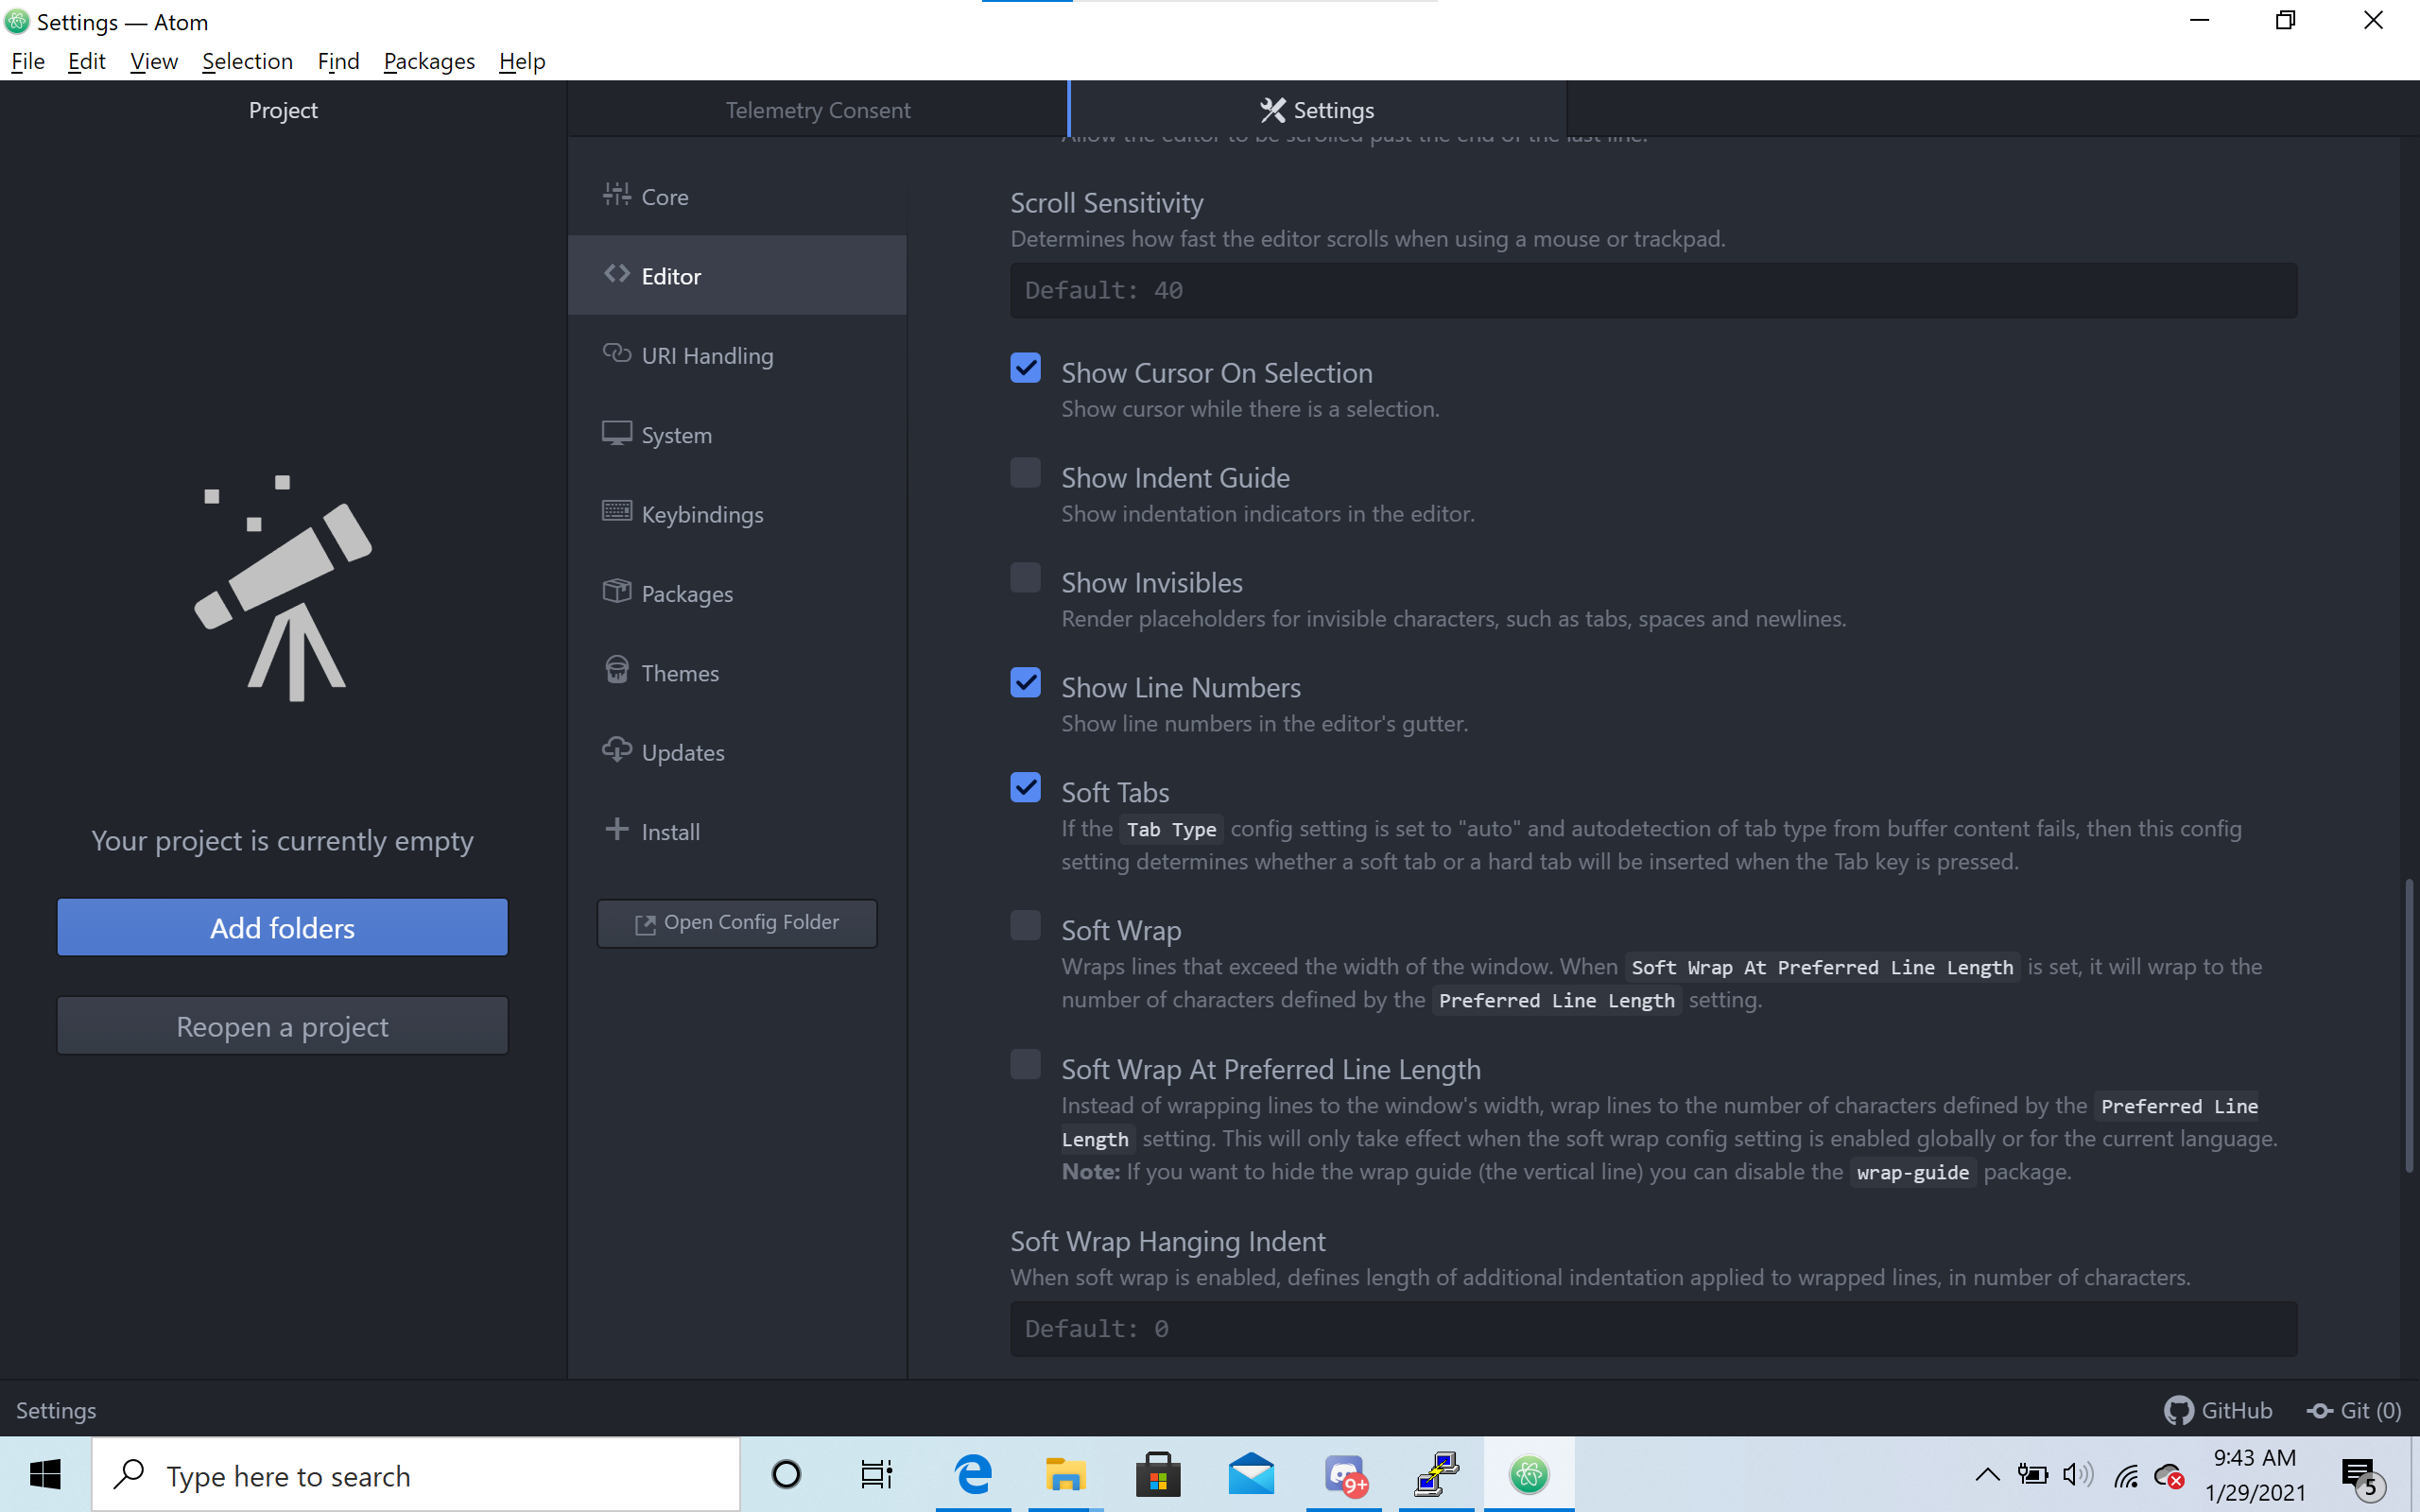
Then scroll down until you see this section. Make sure the tab length is set to 4 or 8, but not less than 4.
In the selection under "Tab Type" it willl probably say "auto" instead of "soft". Change it to "soft" like in this picture:

Then scroll up a bit and make sure the Soft Tabs box has a little blue check. Ignore the settings for "Atomic Soft Tabs" in the Editor section.
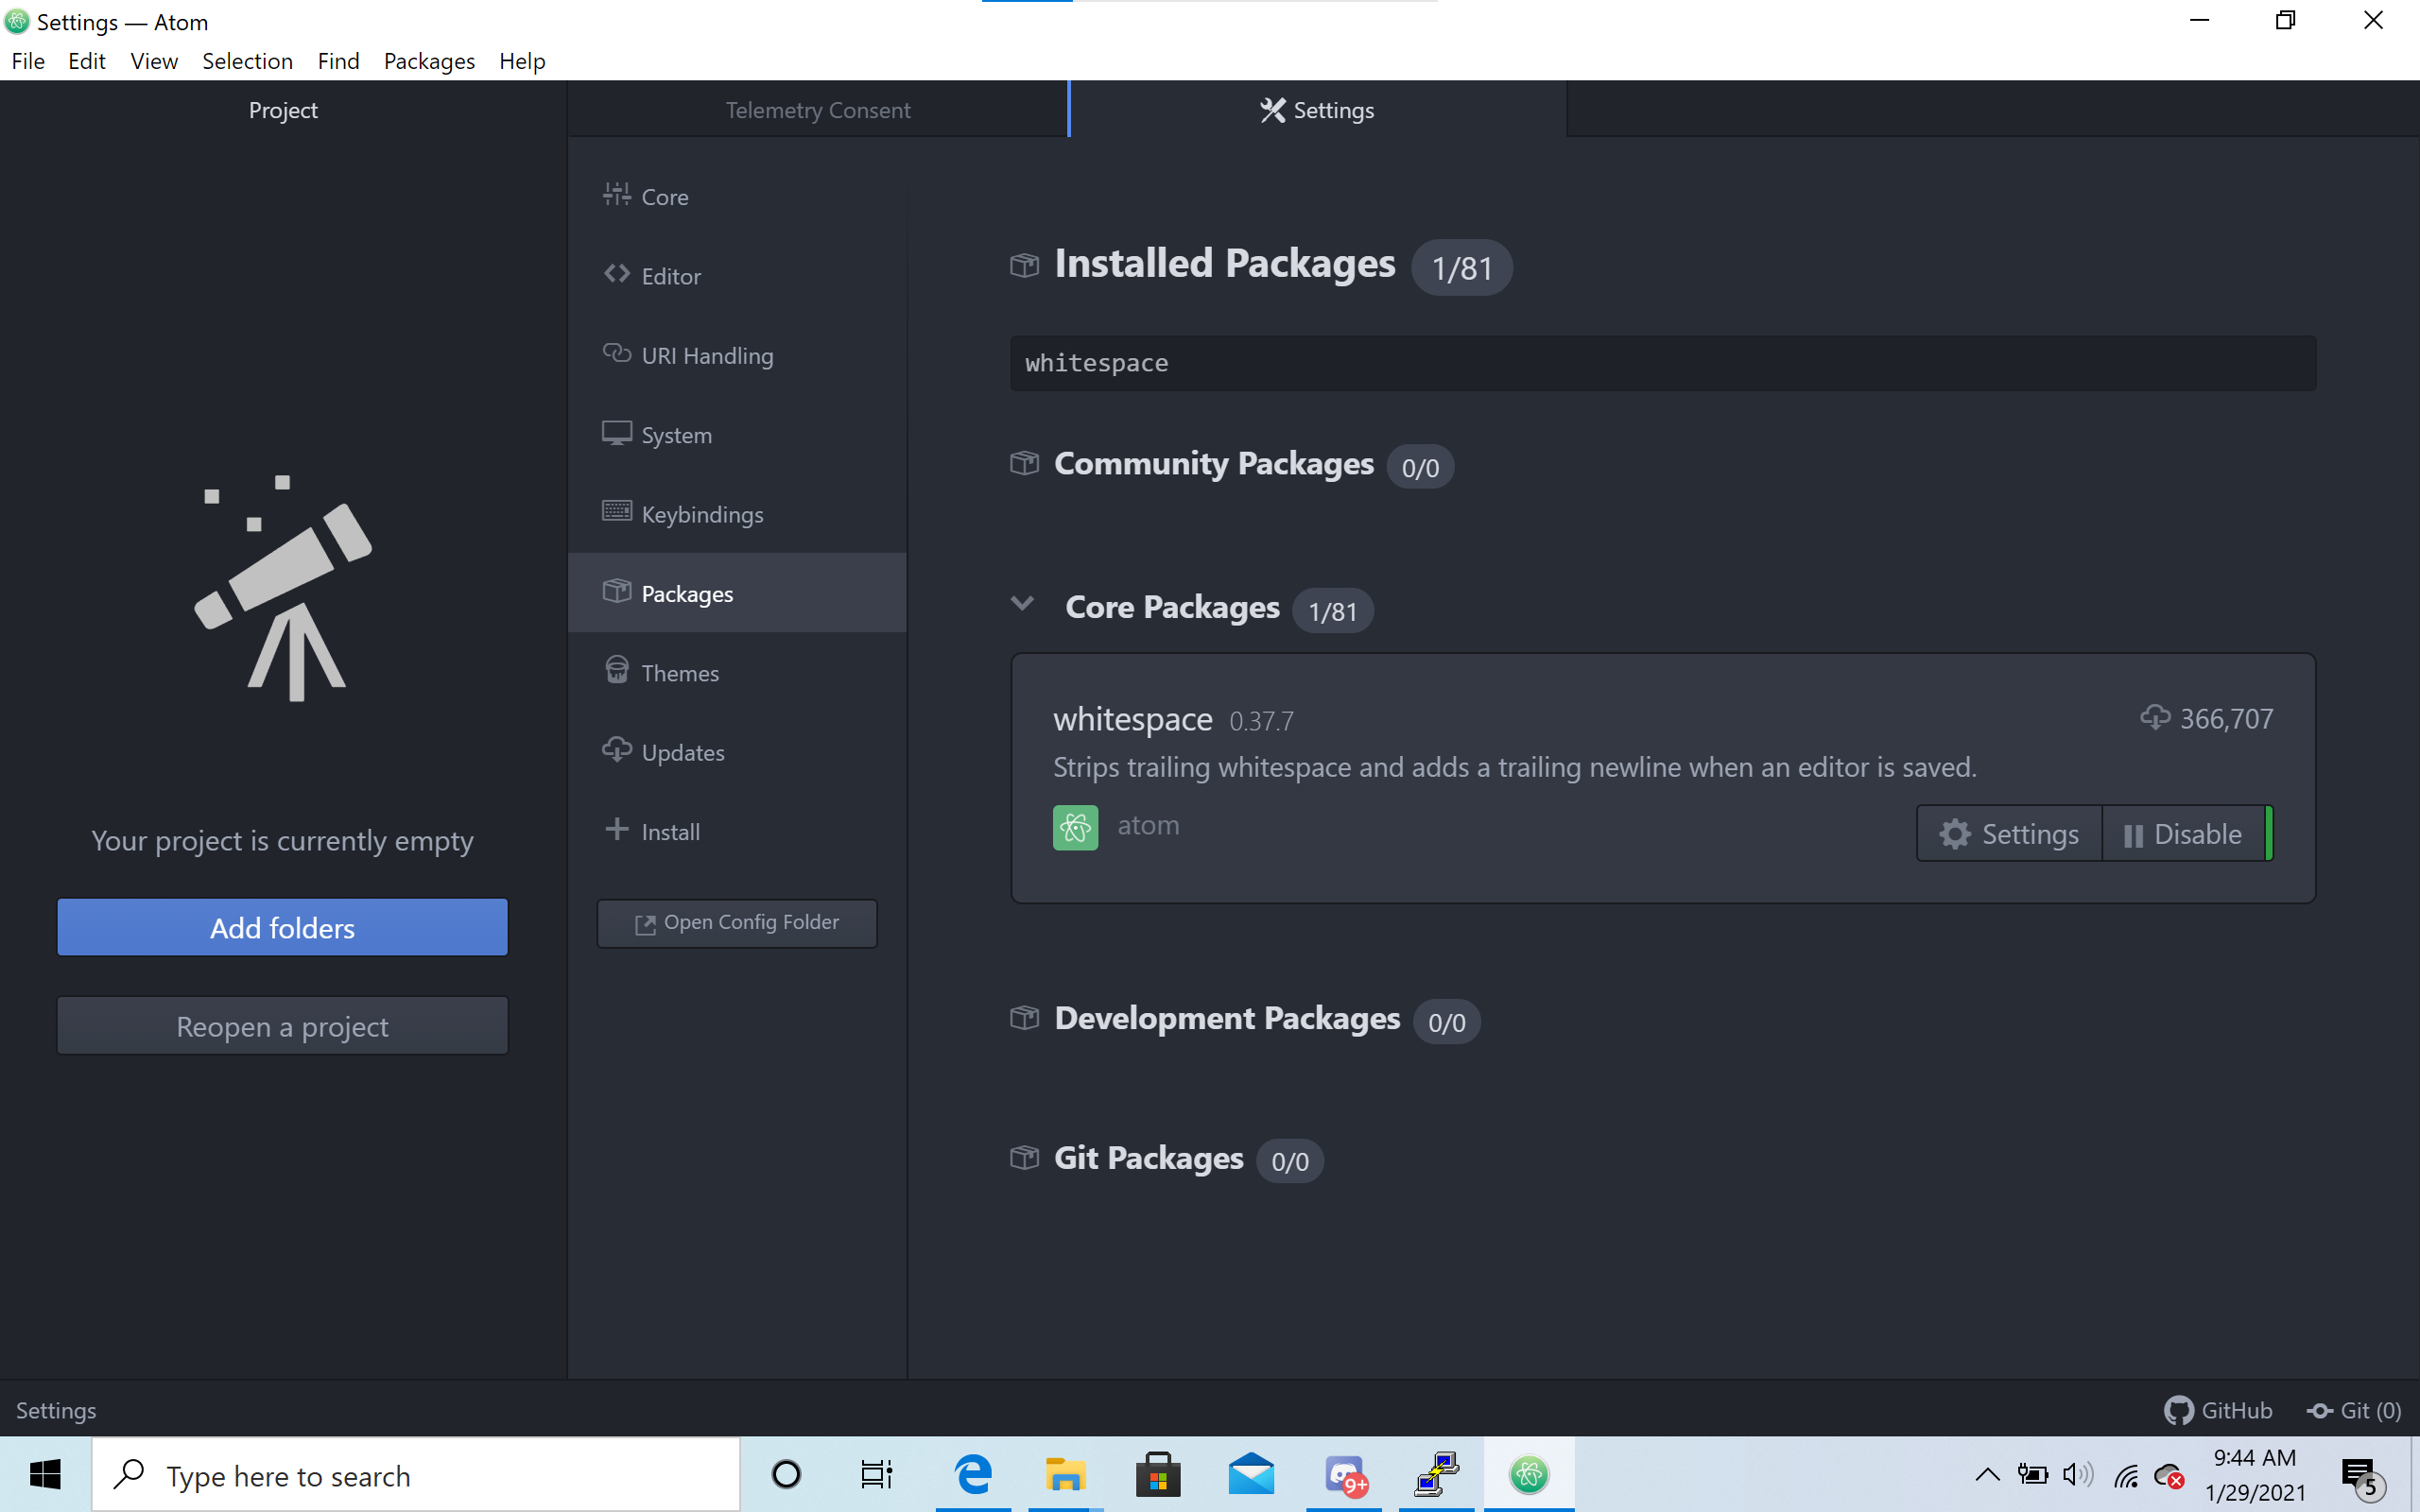
2. Disable the whitespace package: Click the Packages tab. Search for "whitespace." Click the disable button.
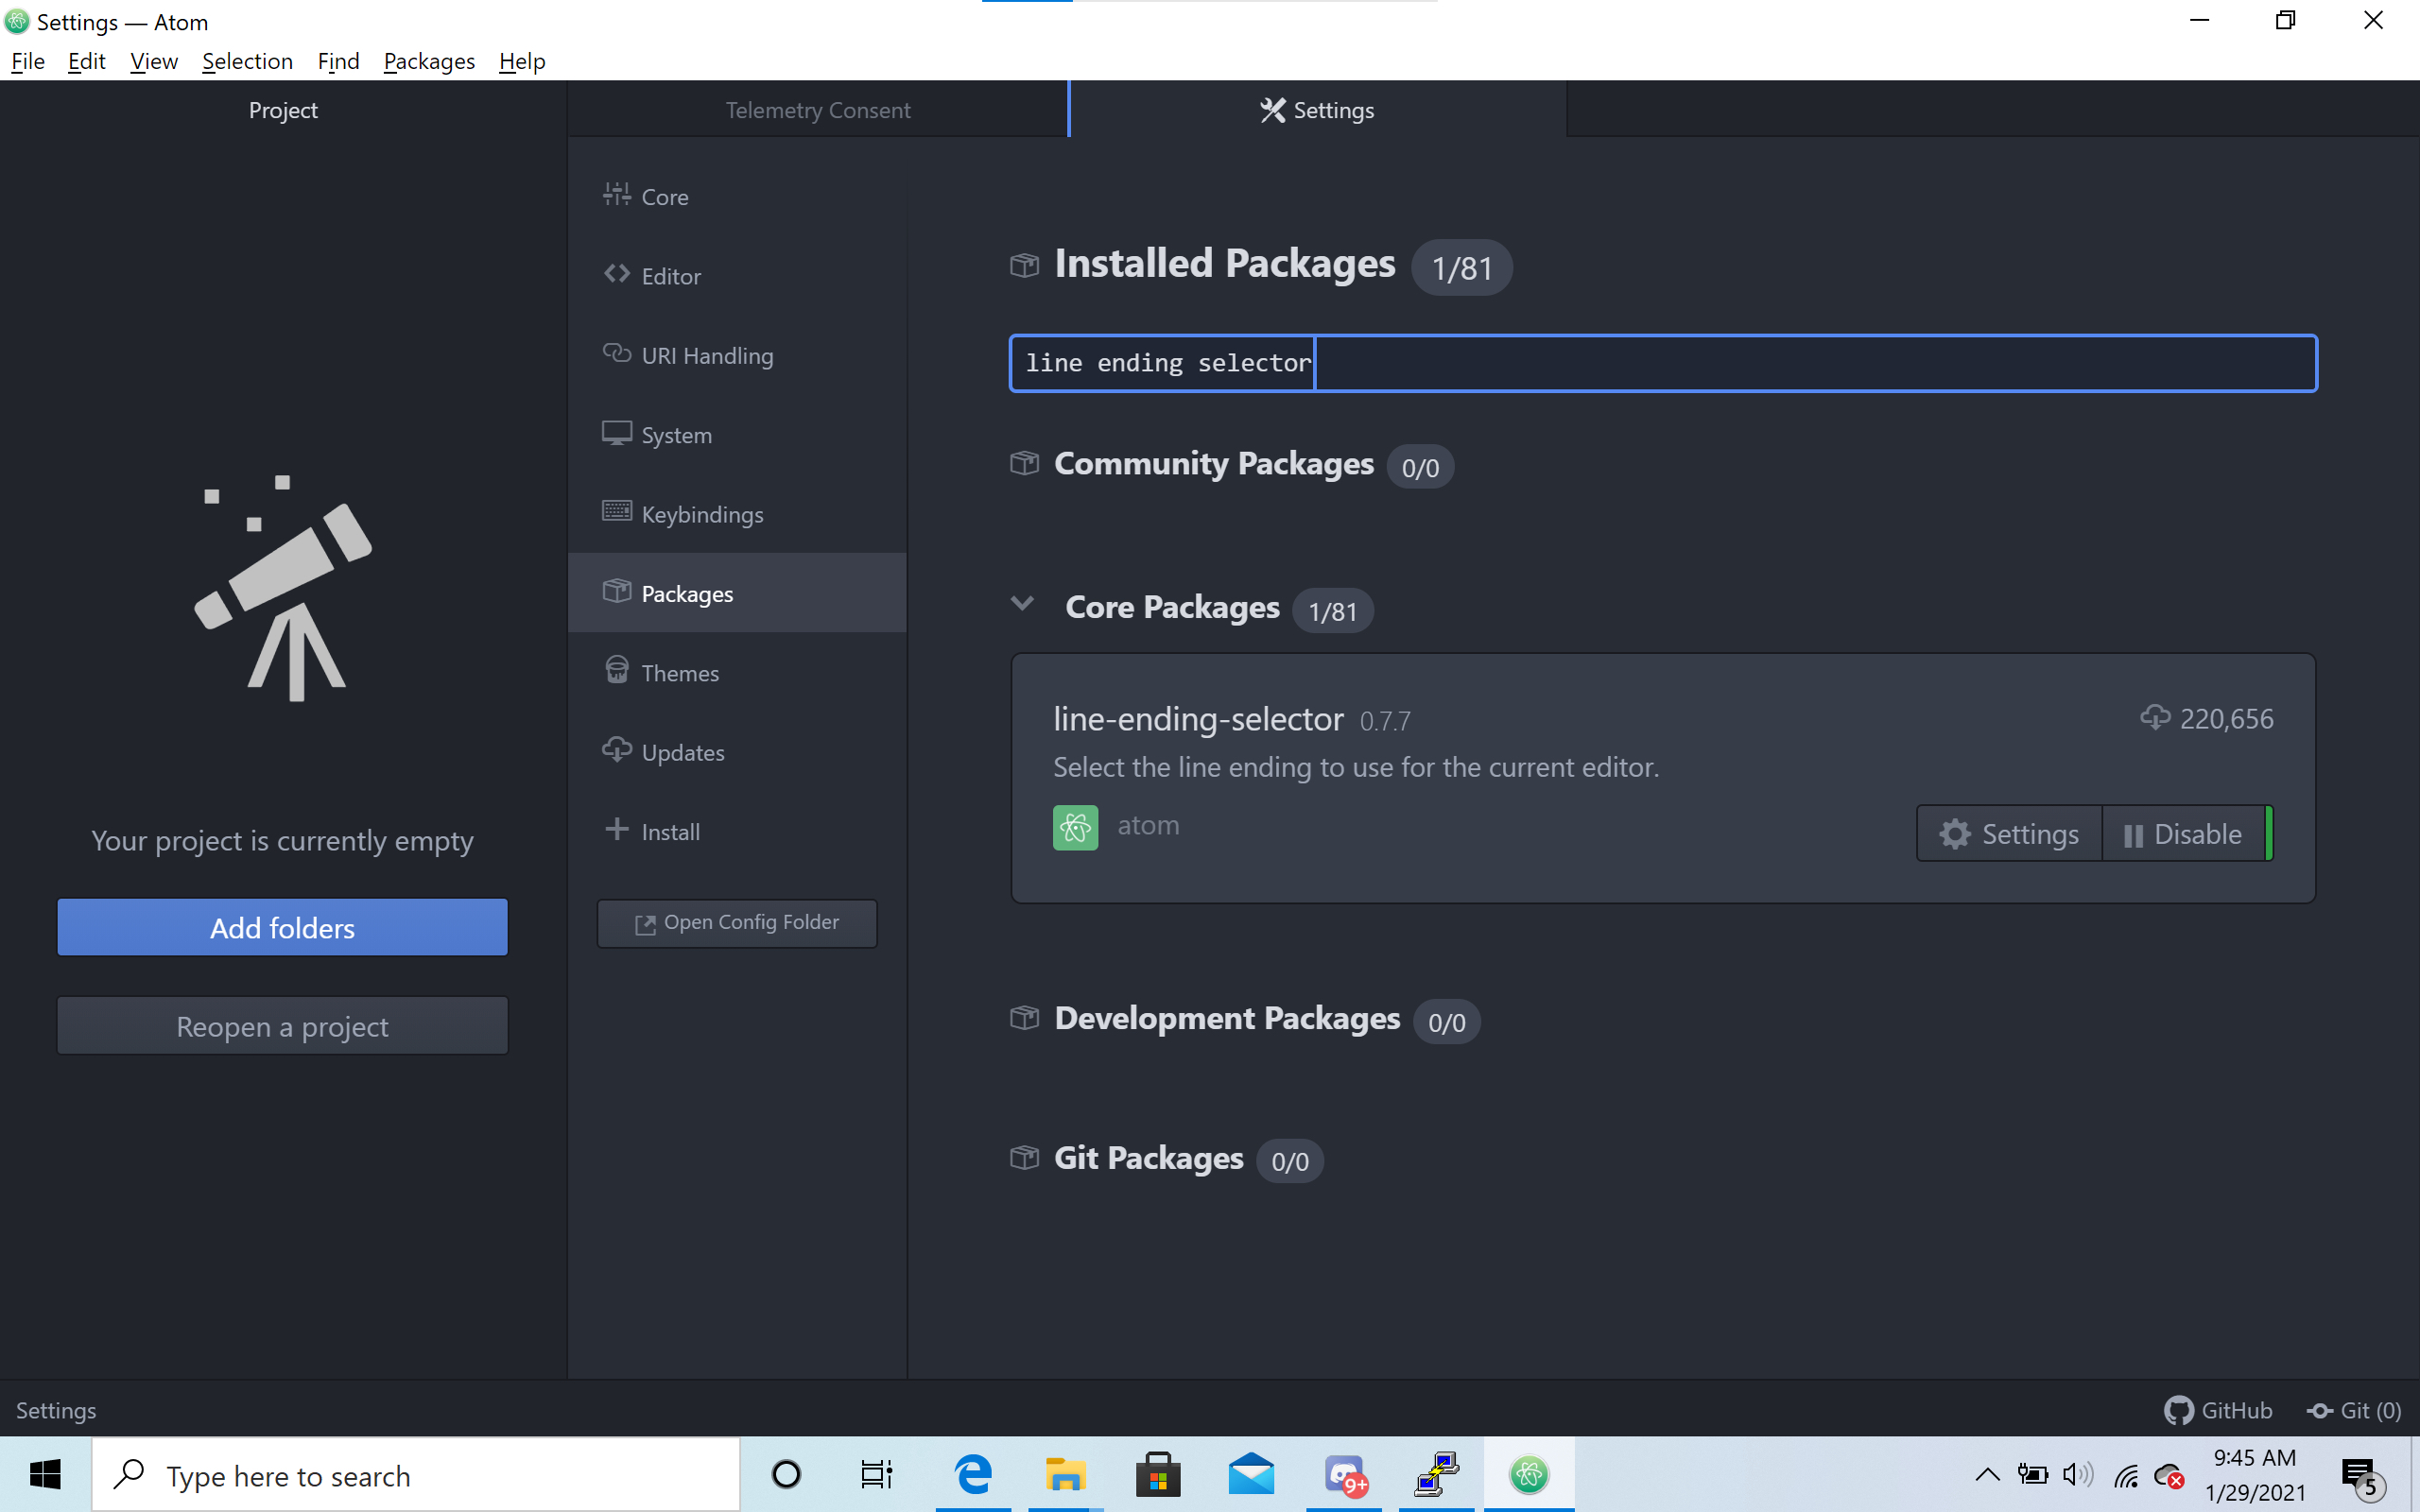
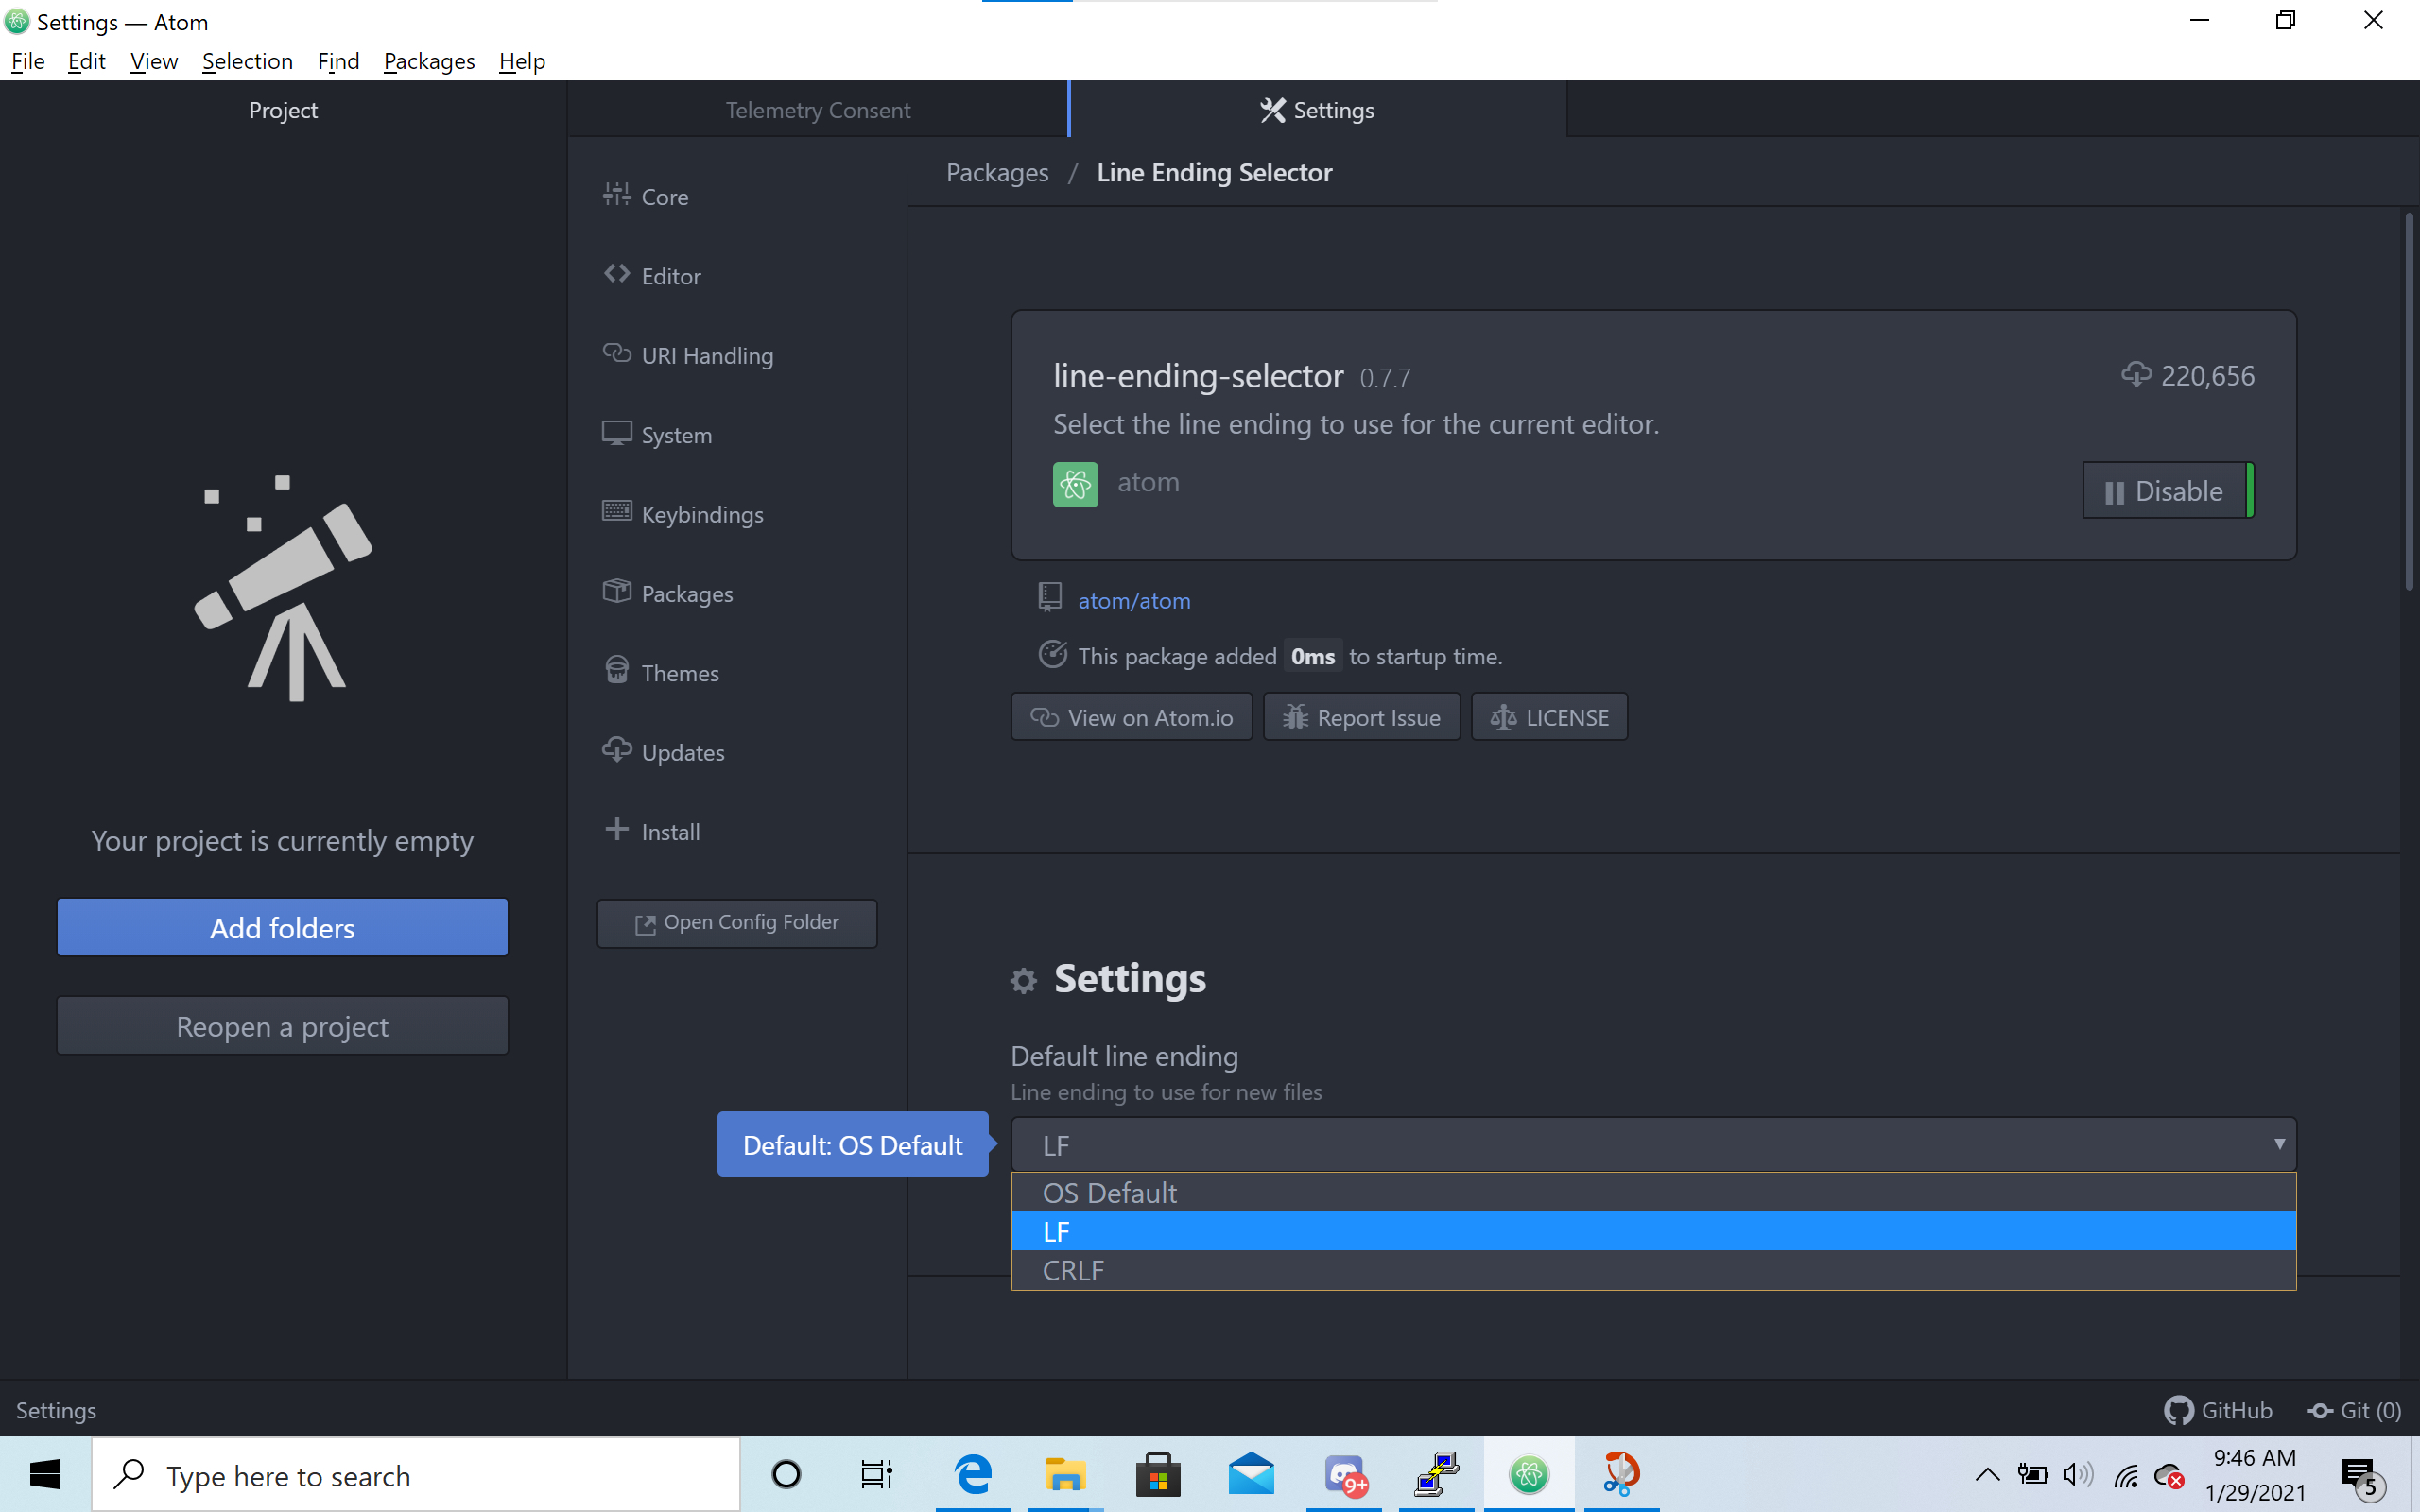
3. Change the Line Endings: Click the Packages tab. Search for "line ending selector". Change the "Default line ending" setting to "LF" instead of "OS Default"
You may also find some of Atom's other settings to be helpful, such as auto-wrapping lines at 80 characters (our CS 11 style guide sets 80 characters as the maximum length of any given line). I have the indent guides turned on as well.
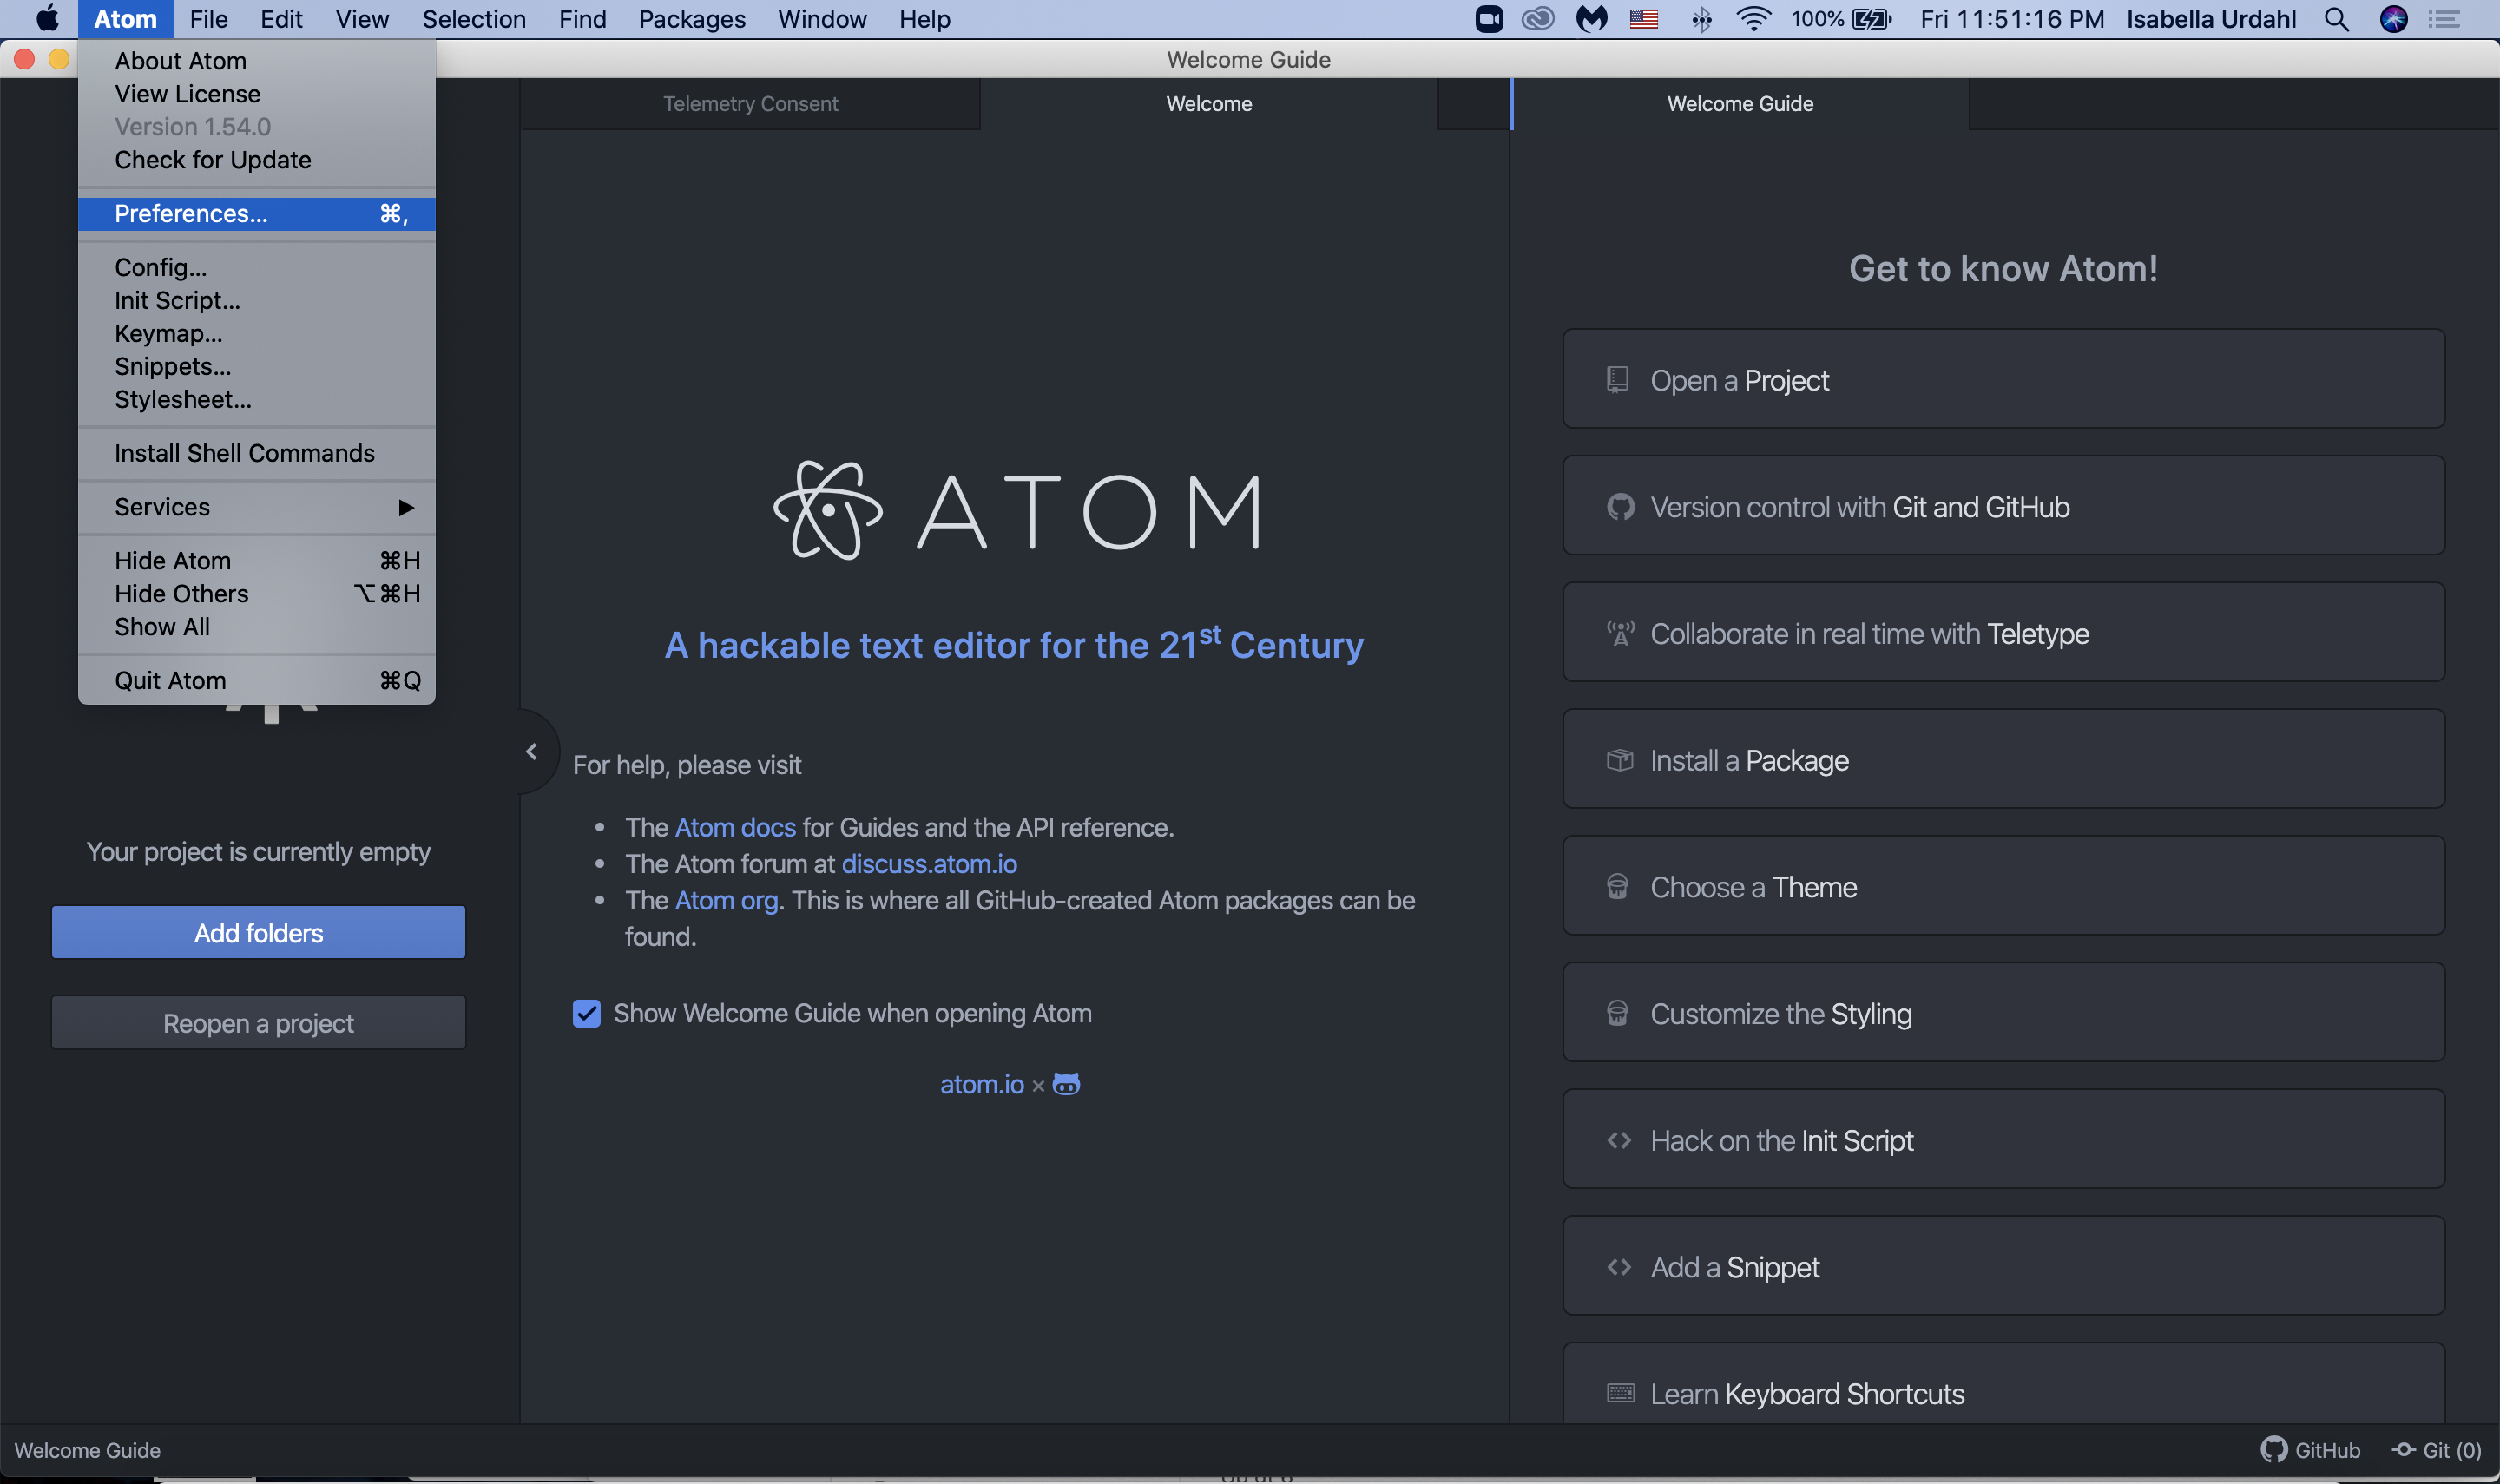
We will be using Atom's remote-sync-pro package to sync files between your personal computer and your Halligan space. This allows you to edit your code on your personal computer, but compile and submit it from the Halligan servers. To install remote-sync-pro, go to Preferences -> Install, and enter "remote-sync-pro" in the search field. Then click "Install" on the remote-sync-pro package (it should be the first search result).
To begin using remote-sync-pro, you will need a mirror image of the cs11 folder that you created in your Halligan space. So you will want to create a folder on your personal computer called "cs11". You can then drag that folder into an open Atom window and it will appear in the left sidebar.
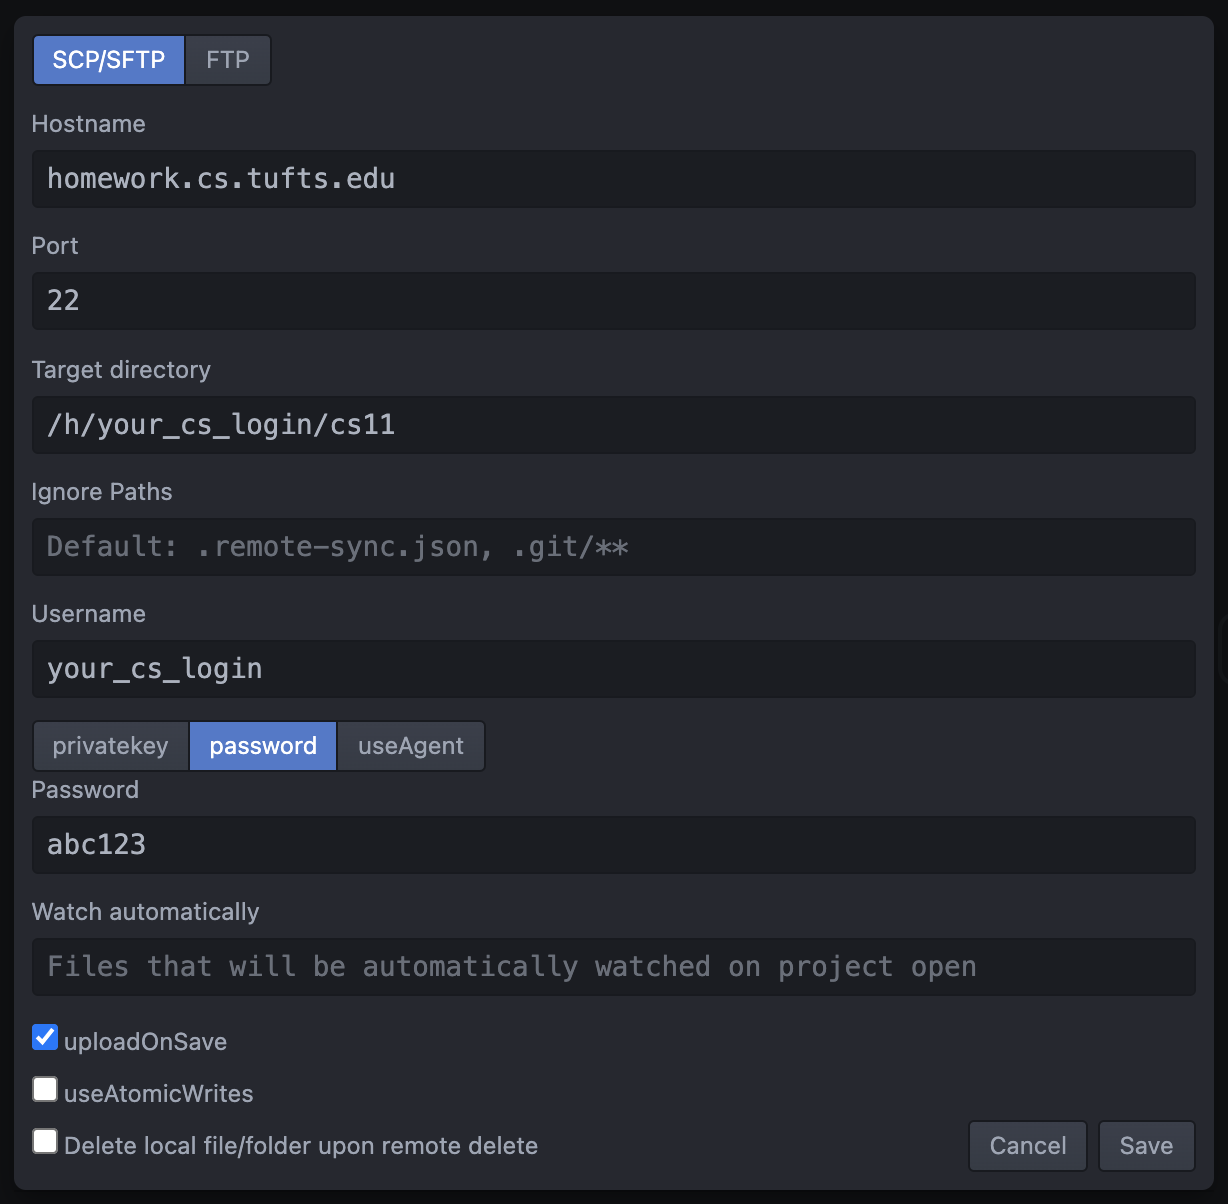
In order to establish a sync between this folder and the analogous folder in your Halligan space, right-click the folder in Atom's sidebar and select Remote Sync PRO -> Configure. The following configuration settings will establish a sync to your Halligan folder (be sure to use your own CS login as the Username and in the Target Directory path and note that "uploadOnSave" is checked):
In most cases, you will begin working on an assignment by logging into Halligan and using the
cp command
taught in lab00 to copy the starter files into your Halligan
space. The next step is to sync those files with the analogous
folder on your personal computer. To do this, right click your
cs11 folder in Atom's sidebar and select Remote Sync PRO ->
Download Folder. This will copy all of the files from Halligan
onto your personal computer, which will allow you to begin
editing them. If you have correctly selected uploadOnSave
during the configuration process, then the changes you make on
your personal computer will be propogated to Halligan every
time you save your work.
Remote Sync Troubleshooting
There are a variety of (hopefully) rare circumstances that will cause an error with remote sync. For example, if you sync a file between your Halligan space and your personal computer and then you log into Halligan and edit that file, there will be edits on Halligan that are not reflected on your personal computer. If you then try to make new edits from your personal computer, Atom will not know how to merge these edits in and will get mad at you.Ultimately a sync error occurs when there are two versions of a file and Atom doesn't know which one is the correct one. These issues are almost always resolved by you simply telling Atom which version is correct. So if this happens, the first thing you must do is determine where the correct version of the file is, on Halligan or on your personal computer. It is not a bad idea to create a back-up copy of the correct version before you proceed.
If the correct version is on Halligan, you just need to tell Atom to copy that version to your personal computer. This is done by right clicking the synced folder in Atom's sidebar and selecting Remote Sync PRO -> Download Folder. If the correct version is on your personal computer, right click the synced folder and select Remote Sync PRO -> Upload Folder.
If this is not working, or if you are generally panicking, please ask a TA to help you get your files back in sync.